So, you’ve got your eyes set on a sleek new bike rack. But hold your horses! Before you dive headfirst into the world of bike rack bliss, let’s take a moment to assess your vehicle’s compatibility. Trust me, you don’t want to end up with a rack that’s as out of place as a penguin in the Sahara.
Check Your Vehicle’s Roof
First things first, let’s talk about your vehicle’s roof situation. If your ride boasts roof rails or crossbars, congratulations! You’re in luck. Most bike racks are compatible with these bad boys, making your life a whole lot easier. But if your car is rocking the smooth roof look, fear not. There are still options available, like trunk-mounted or hitch-mounted racks. Just make sure to double-check the weight limit – we don’t want any unexpected surprises mid-road trip!
Bike Rack Extension Swagman
Compatibility: Skaha Series Bike Racks
Hold Capacity: Up to 2 Bikes
Mounting Type: Bike Tire Mount
Lockable: Yes
With Ratchet Straps: Yes
Consider Your Car’s Shape and Size
Now, let’s get down to the nitty-gritty – your car’s shape and size. Are you driving a compact sedan or a hulking SUV? The size of your vehicle plays a crucial role in determining which bike rack will suit it best. For smaller cars, you might want to opt for a lightweight and compact rack that won’t overwhelm your sleek exterior. On the other hand, if you’re rolling in a larger vehicle, you have more leeway to go for a heavier-duty rack that can handle the load.
Think About Accessibility
Last but certainly not least, let’s talk about accessibility. How easy is it going to be to load and unload your bikes with the chosen rack? If you’re someone who values convenience (and let’s be real, who doesn’t?), you’ll want to make sure your rack of choice doesn’t turn into a wrestling match every time you want to hit the trails. Look for features like easy-to-use straps, adjustable arms, and quick-release mechanisms to make your life a whole lot easier.
Final Thoughts
Assessing your vehicle’s compatibility might not sound like the most thrilling task in the world, but trust me, it’s worth it in the long run. By taking the time to consider factors like your roof setup, car size, and accessibility needs, you’ll ensure that you end up with a bike rack that’s not only compatible but downright perfect for your ride. So, before you embark on your next biking adventure, take a moment to give your vehicle a little compatibility check. Your bikes (and your sanity) will thank you for it!

Bike Rack Stromberg Carlson
- Mount Location: Receiver Hitch Mount
- Bike Capacity: Holds 2 Bikes
- Hold Type: Cradle System With Strap
- Lockable: Without Lock
- Material: Steel
- Universality: Fully Universal
- Weight Capacity: 80 Pound
- Foldable: Foldable
- Color: Black
- Mount Detail: 2 Inch Receiver Hitch Mount
Understanding Different Bike Rack Types
Alright, buckle up, because we’re about to dive into the wonderful world of bike racks! But before you get overwhelmed by the myriad options out there, let’s break it down and talk about the different types of racks you’ll encounter on your quest for the perfect Bike Rack.
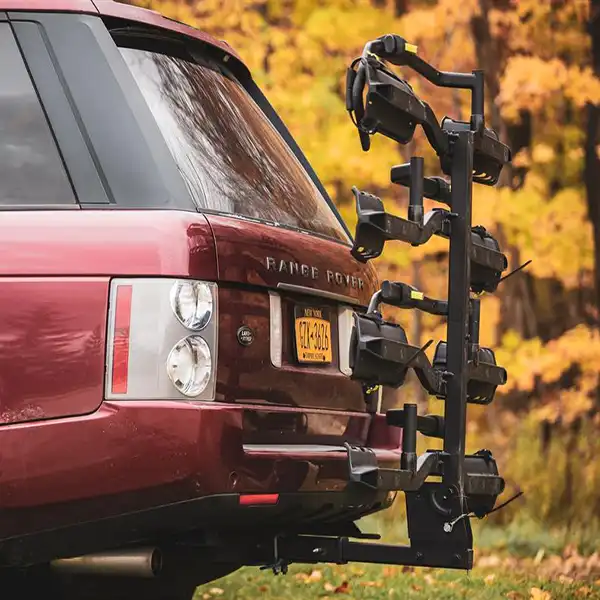
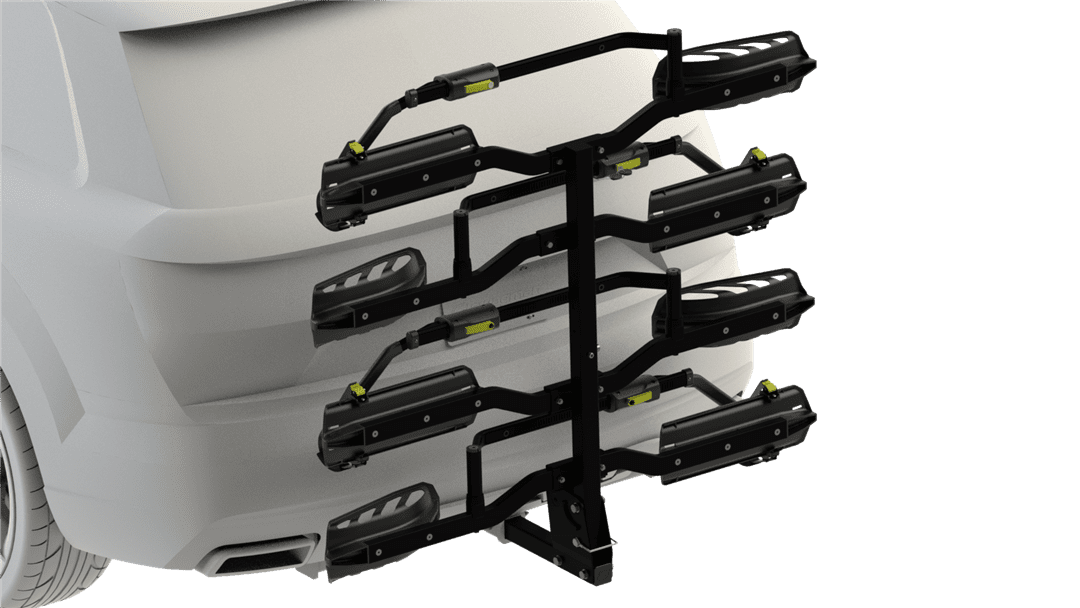
Hitch-Mounted Racks: The Heavy Lifters
First up, we’ve got hitch-mounted racks – the heavy lifters of the bike rack world. These bad boys attach to the hitch receiver on the back of your vehicle, making them a solid choice for hauling multiple bikes without breaking a sweat. Plus, they often come with handy features like tilt-down mechanisms for easy trunk access and built-in locks for added security. Just make sure your vehicle has a hitch receiver before you commit to one of these beasts!
Roof-Mounted Racks: The Sky’s the Limit
Next on the list, we’ve got roof-mounted racks – the sky’s the limit with these babies! Literally. These racks attach to the crossbars or roof rails on top of your vehicle, giving you the freedom to transport your bikes without sacrificing precious cargo space. They’re great for aerodynamics and won’t obstruct your view out of the rear window. Just be prepared for a bit of a workout when it comes to loading and unloading your bikes – especially if you’re has short structure like yours truly!
Trunk-Mounted Racks: The Jacks of All Trades
Last but not least, we’ve got trunk-mounted racks – the jacks of all trades in the bike rack world. These versatile racks attach to the trunk or hatch of your vehicle using a series of straps and hooks, making them a great option for cars without roof rails or hitch receivers. They’re lightweight, easy to install, and can usually accommodate a decent number of bikes. Just be sure to double-check your vehicle’s weight limit and rear visibility before you hit the road.

Budget vs. Features: Finding Balance
So, you’ve decided it’s time to invest in a bike rack. But before you whip out your wallet, let’s talk about finding that sweet spot between budget and features. Because let’s face it, nobody wants to break the bank on a glorified metal contraption.
Assess Your Needs
First things first, take a moment to assess your needs. Are you a casual cyclist who just needs a rack for the occasional weekend adventure? Or are you a hardcore biking enthusiast who logs more miles than a long-haul trucker? Your usage will dictate the features you need – and how much you’re willing to spend.
Set Your Budget
Next up, let’s talk budget. How much are you willing to shell out for your new Bike Rack? Set a realistic budget based on your financial situation and stick to it. Remember, there’s a wide range of racks available at various price points, so you’re bound to find one that fits your budget without sacrificing quality.

Prioritize Features
Now comes the fun part – prioritizing features. Take a look at your list of must-haves and nice-to-haves and rank them in order of importance. Do you absolutely need a rack that can accommodate four bikes, or is two enough? Are you willing to splurge on extra security features like built-in locks, or are you comfortable using a separate bike lock? By prioritizing features, you can ensure you get the most bang for your buck.
Consider Long-Term Value
Finally, let’s talk about long-term value. While it might be tempting to go for the cheapest option available, consider the long-term cost of ownership. Will you need to replace your rack in a year because it’s falling apart, or will it stand the test of time? Sometimes, spending a little extra upfront can save you money in the long run by avoiding costly repairs or replacements.

Installation Tips and Tricks
So, you’ve got your shiny new Bike Rack in hand – now what? Don’t panic, my friend. I’ve got some installation tips and tricks up my sleeve to make the process as smooth as butter.
Choose the Right Location
First things first, choose the right location for your Bike Rack. Whether you’re installing it on the roof, trunk, or hitch, make sure you’ve got plenty of space to work with and easy access to your bikes. Trust me, you don’t want to be contorting yourself into a pretzel trying to install your rack in a cramped garage.
Follow the Instructions
Next up, follow the instructions like your life depends on it. I know, I know – reading instructions is about as fun as watching paint dry. But trust me, it’ll save you a world of headaches in the long run. Most Bike Racks come with step-by-step guides that walk you through the installation process, so take advantage of them!
Gather Your Tools
Before you dive into the installation process, gather your tools like a seasoned DIY pro. Depending on the type of rack you have, you might need a few basic tools like a screwdriver, wrench, or Allen key. Trust me, there’s nothing worse than getting halfway through an installation only to realize you’re missing a crucial tool.

Check for Compatibility
Before you start drilling holes or tightening bolts, double-check that your Bike Rack is compatible with your vehicle. The last thing you want is to go through the whole installation process only to realize your rack doesn’t fit properly. Most manufacturers provide compatibility guides on their websites, so do a quick check before you get started.
Take Your Time
I know you’re excited to hit the road with your shiny new Bike Rack, but trust me – patience is key. Take your time during the installation process and double-check your work along the way. A few extra minutes now can save you hours of frustration later on.
Secure Your Rack Properly
Once your Bike Rack is installed, take a moment to double-check that it’s secure. Give it a good shake and make sure it’s not wobbling or coming loose. The last thing you want is for your precious bikes to go flying off the rack mid-drive!

Test Drive
Before you load up your bikes and hit the road, take your Bike Rack for a test drive around the block. Pay attention to how it feels while driving – does it feel stable and secure, or does it wobble and sway? Better to catch any issues now than halfway through your road trip!
Final Thoughts
Installing a Bike Rack might seem like a daunting task, but with the right tips and tricks, it’s a breeze. By choosing the right location, following the instructions, gathering your tools, checking for compatibility, taking your time, securing your rack properly, and taking it for a test drive, you’ll be hitting the road with confidence in no time. So, what are you waiting for? Get out there and start exploring!